REVIEW · KYOTO
Kyoto Portrait Tour with Kimono
Book on Viator →Operated by Travel Japan Together · Bookable on Viator
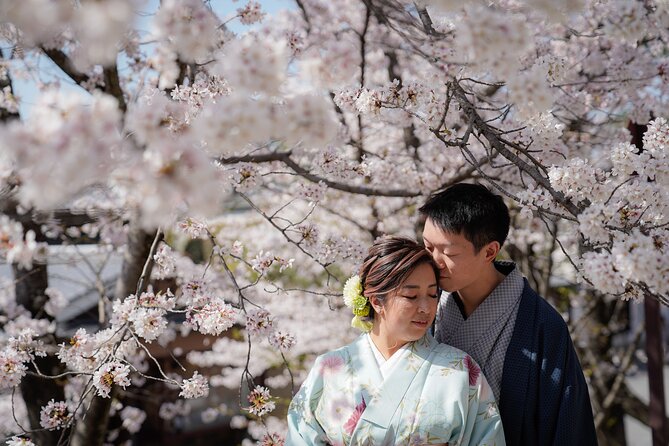
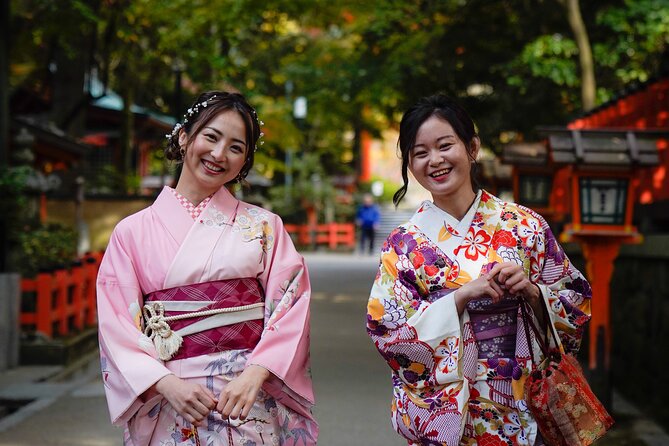
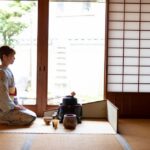
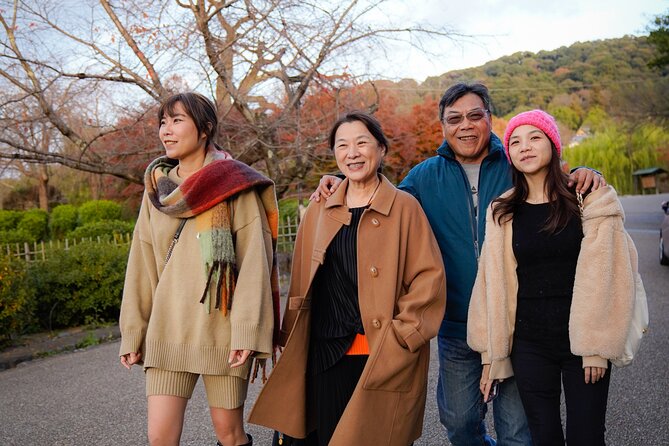
Kyoto is at its most photogenic when you slow down, not when you sprint. This Kyoto Portrait Tour with Kimono is built for that: you get a guided walk through Gion’s famous corners and quieter photo spots, with help posing so you don’t feel awkward in a traditional look. You also get to pick the vibe by choosing a morning or afternoon session, which matters a lot for flattering light.
I love how much you get for the price: the tour includes your guide and the professionally edited photos. I also like the small group limit of up to 6 people, because it gives your photographer time to reset spots, guide your poses, and catch cleaner angles without rushing.
One thing to consider: the kimono is not included. You’ll need to plan where you want to rent from before the meeting, and that’s an extra step—though the benefit is that you can choose the store that fits your style.
In This Review
- Key things to know before you go
- Why this Kyoto portrait walk feels different in Gion
- Choosing morning vs afternoon for better light (and less stress)
- Your route: Yasaka Shrine to Yasaka Pagoda, with stops that actually photograph
- What the guides do beyond taking photos
- Kimono planning: what you choose and what you don’t have to
- Included photos and editing: where the real value lands
- Group size of 6: the practical perk you’ll feel
- Price and value: how $85.87 fits what you’re actually buying
- Who should book this and who should skip it
- Should you book this Kyoto Portrait Tour with Kimono?
- FAQ
- Do I need to buy a kimono separately?
- How long is the Kyoto portrait tour?
- What’s included in the price?
- What stops are included on the route?
- Is there a group size limit?
- Do I choose a morning or afternoon session?
- Where do I meet the guide?
- Can I cancel and get a refund?
Key things to know before you go
- Up to 6 people means you’re not fighting for attention at each stop
- Morning or afternoon sessions let you choose your lighting style and mood
- Yasaka Shrine, Maruyama Park, Chion-in, Ishibe Alley, Nene Road, Yasakanoto cover both iconic and lesser-walked scenery
- Kimono choice is yours (but you’ll rent it separately)
- The tour ends near Hōkan-ji Temple (Yasaka Pagoda), handy for continuing your Kyoto evening
- Free admission is listed for several major stops on the route
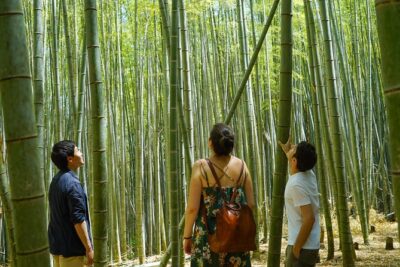
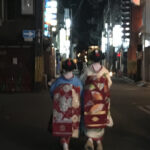
Why this Kyoto portrait walk feels different in Gion
Kyoto can be overwhelming fast. This experience keeps it human-sized: a photographer-led walk that mixes big landmarks with smaller lanes where the streets feel older and calmer. Instead of just taking photos on the move, you pause, get direction, and build a photo set that looks intentional.
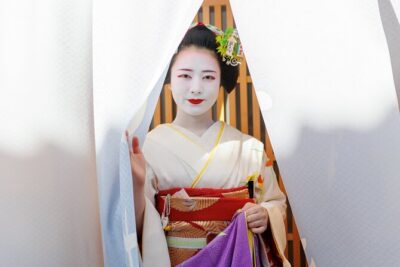
The kimono angle is a big part of the charm. Even if you’re not a pro at posing, the best photos usually come from simple coaching: how to stand, where to look, and how to move your hands so you don’t freeze like a statue. And with a small group, your guide can actually spend time on that.
You can also read our reviews of more tours and experiences in Kyoto.

Choosing morning vs afternoon for better light (and less stress)
You get a real choice here: schedule a morning or afternoon session. Light changes everything in Kyoto—especially when you’re aiming for portraits where faces and fabric texture matter. Morning often gives softer light and calmer streets, while afternoon can bring warmer tones and a different feel to temple shadows.
Practically, your session timing can also affect how long it takes to move between photo points. The route includes multiple stops in the Higashiyama area, so planning for crowd flow helps your photographer keep momentum. A photographer can’t magically remove people, but they can time angles better when your group moves as a unit.
If you’re picky about your photo style, treat this as part of your creative brief. Morning leans gentle; afternoon can look more cinematic. Pick what matches what you want to remember: quiet mornings in Kyoto or golden-hour energy.
Your route: Yasaka Shrine to Yasaka Pagoda, with stops that actually photograph
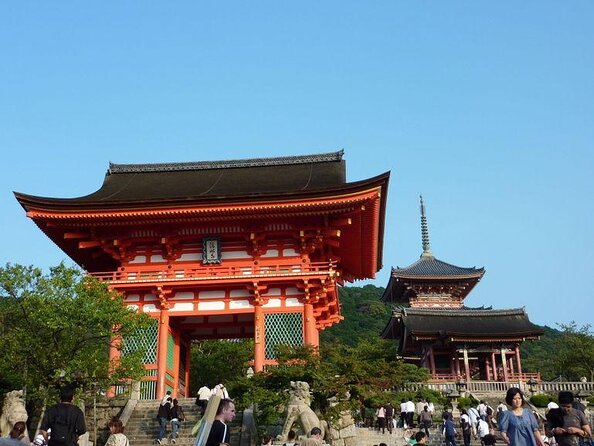
The tour is about 1 hour 30 minutes total, and it’s designed like a photo loop. You start at Yasaka Jinja Nishiromon Gate (Western Tower Gate) in Gion (625 Gionmachi Kitagawa, Higashiyama Ward), then end at Hōkan-ji Temple (Yasaka Pagoda) (清水八坂上町388 area).
Here’s what each stop contributes, and why it’s useful for portraits.
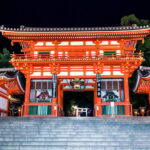
Stop 1: Yasaka Shrine (about 20 minutes)
This is a strong starter because Yasaka Shrine gives you that classic Kyoto backdrop without needing a car or a long transit plan. The setting is instantly recognizable, and it works well even if you want a mix of close portraits and wider shots. Since admission is listed as free here, you can focus on posing and composition instead of ticket logistics.
Stop 2: Maruyama Park (about 20 minutes)
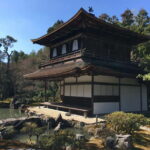
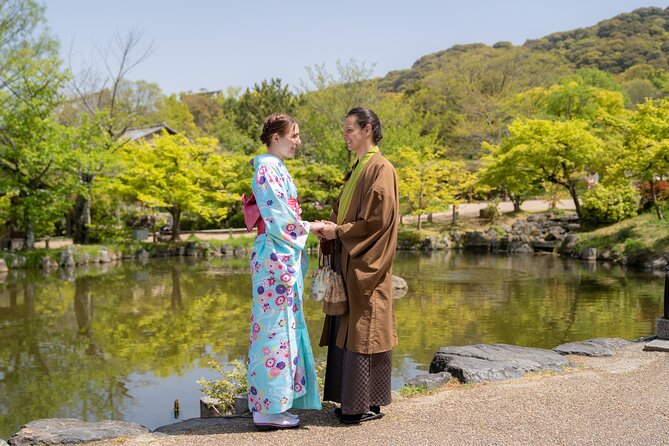
Maruyama Park is one of those Kyoto spots that looks like a postcard when framed right. It’s also described as the oldest park in Kyoto, and the tour notes seasonal beauty—especially early April cherry blossoms and the traditional garden style. Even if you’re not in peak season, the park’s layout can create clean photo backgrounds with less visual clutter than busier street corners.
A tip that helps in parks: ask for at least one portrait where you’re framed by natural lines (trees, paths), not just standing in open space. Those compositions tend to age better in your photo album.
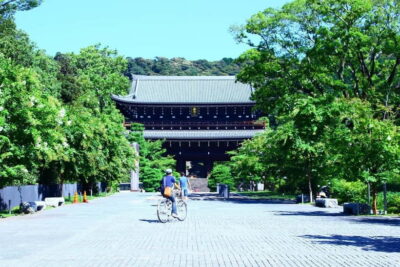
Stop 3: Chion-in Temple and the Sanmon Gate (about 20 minutes)
This stop is about scale and architecture. The Sanmon Gate is described as 24 meters tall and 50 meters wide, and it’s noted as the largest wooden temple gate in Japan. That kind of backdrop is hard to fake with editing later. If you want at least one photo where the building matters as much as your outfit, this is where to get it.
The other value here is pacing: it’s a substantial landmark, so you get a chance to slow down and do a few portraits rather than just snapping and moving on.
Stop 4: Ishibe Alley (about 10 minutes)
This is the quick hit for texture and atmosphere. Ishibe Alley is described as a hidden-style lane surrounded by traditional architecture, giving you a more authentic-feeling Kyoto street scene. Because the stop is shorter, you’ll want to think in terms of variety: a couple of straight-on portraits, plus one or two where you’re turning slightly down the alley.
Also, the tour notes that admission ticket is not included for this part. The practical takeaway: keep an eye on whether any small-fee rules apply on the spot, just in case.
Stop 5: Nene-no-Michi (about 10 minutes)
Nene-no-Michi is a flagstone walkway guided as part of the experience, with seasonal color called out—especially red leaves in autumn. It also connects the scene to the nearby Kodaiji area, where people naturally walk through, giving you that Kyoto strolling energy.
For portraits, walking paths can be tricky if you feel stiff. This stop is a good candidate for guided movement: look over your shoulder, pause mid-step, or let the kimono flow with a small turn. If you’re new to posing, having an actual instruction at this point helps a lot.
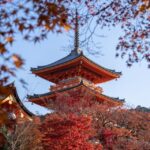
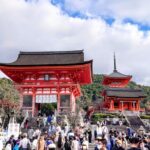
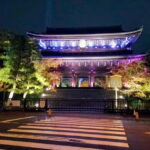
Stop 6: Yasakanoto (Yasaka Pagoda) at Hōkan-ji Temple (about 10 minutes)
You finish at Yasakanoto Pagoda, also called the five storied pagoda. This is where the tour’s ending spot is incredibly photo-friendly. Pagoda shots are popular for a reason: they give you a strong vertical element that frames your portrait and creates a clear sense of place.
The tour ends in front of Yasaka Pagoda area, and you’re also given travel tips around this part of Kyoto. That’s useful because it helps you decide where to go next without guessing.
What the guides do beyond taking photos
The best part of this type of experience is not just the locations—it’s the human direction. In this tour, guides are praised for being patient, helpful with posing, and quick when schedules get tight.
I kept seeing the same pattern in guide feedback: they don’t just point you at a spot and hope for the best. People specifically mention photographers like Yuta being patient and explaining shrine details, Takuma making the session comfortable and working efficiently when someone had a time pressure, and Mina choosing good angles while staying professional and responsive after the tour.
If you’re solo, this kind of coaching can be the difference between okay photos and photos you actually want to keep. With no one else holding the camera, a good guide helps you feel natural—especially when you’re wearing a kimono that changes how you stand and move.
Also, the walking component means you’re not repeating the same pose every five minutes. Your photographer can keep swapping the backdrop, then give you direction that matches the new scene.
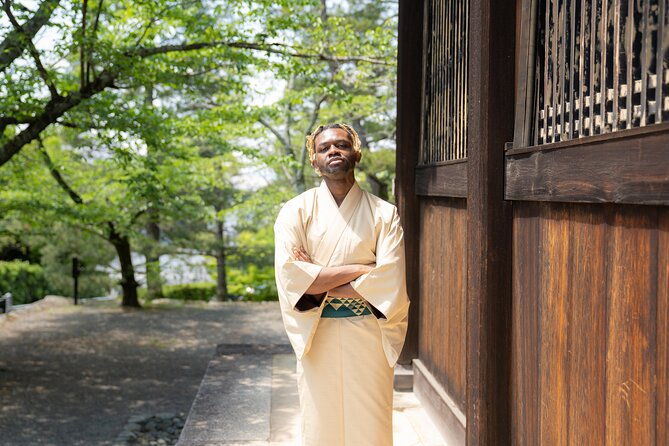
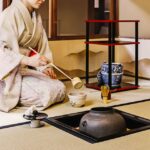
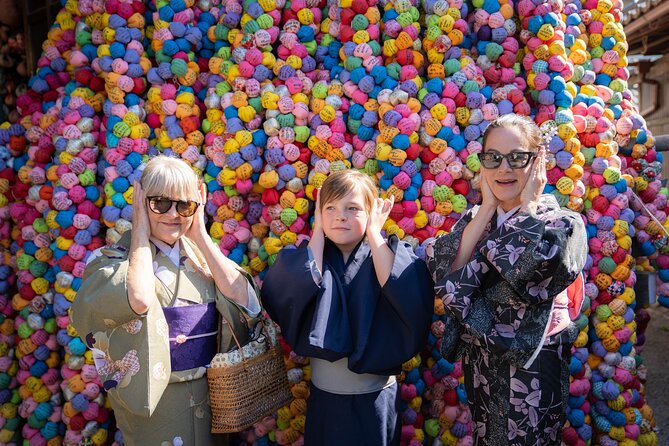
Kimono planning: what you choose and what you don’t have to
The kimono itself is not included in the tour price. That means you’ll need to handle rental separately, but the benefit is choice: the experience is described as letting you select a kimono from a preferred store. For many people, that’s a plus because Kyoto kimono rentals vary a lot in style, fabric, and fit.
Here’s how to make this part painless:
- Pick your rental store based on convenience near the meeting point so you don’t rush on arrival.
- Bring a practical mindset: kimono days are more about comfort and movement than fashion perfection.
- Wear footwear that you can handle for the walking time, since you’ll move between multiple stops within the 1 hour 30 minute window.
If you’re the type who enjoys the full outfit moment—hair, fabric, and photos—this is a fun way to make it feel like part of the story. If you’re short on time and hate extra steps, consider whether you’d rather spend that time sightseeing instead.

Included photos and editing: where the real value lands
You’re not just getting snapshots. This tour includes professionally edited photos and a guide, and that changes the whole outcome. Unedited travel photos can be fine, but the edit pass is what turns them into portraits you’re happy to share with family and friends.
You’ll usually get the most satisfaction from edited photos when you choose a photographer who:
- understands how to frame faces in busy spaces,
- can guide poses without awkwardness,
- and knows how to use Kyoto’s light and architecture.
Guide feedback highlights that photographers are responsive and professional even after the tour ends, which matters if you have questions about your images. If you’ve ever done a DIY portrait set where half the frames are blurry or poorly lit, you’ll appreciate why editing and posing guidance are part of the value here.
Group size of 6: the practical perk you’ll feel

A maximum of 6 travelers isn’t just a number. It changes the rhythm. With a small group, your photographer can adjust for you, wait for a clear moment near a landmark, and still move through the route at a reasonable pace.
In a city like Kyoto, crowd timing is everything. The photos that look calm are usually taken a few seconds at a time, when the background clears. A smaller group makes it easier to grab those seconds without scrambling.
It also helps the experience feel personal. People mention that photographers are kind, funny, and patient. That’s more likely when you’re not one of many people lined up at the same stop.
Price and value: how $85.87 fits what you’re actually buying
At $85.87 per person, you’re paying for a guided portrait session, professional direction, and edited photos. That can be good value when you compare it to the cost of renting a kimono plus paying for a separate photographer who might not cover multiple stops in one loop.
The tour also lists free admission for several stops (Yasaka Shrine, Maruyama Park, Chion-in Temple portion, Nene-no-Michi, and Yasakanoto area). That helps keep costs predictable while still covering high-impact locations.
The main “watch-out” is the kimono is not included. If you already plan to rent a kimono anyway, the $85.87 becomes easier to justify: you’re essentially paying to turn your kimono day into a well-made portrait set, not just a dressed-up walk.
Who should book this and who should skip it
This works best if you want:
- Kyoto portraits with direction, not just sightseeing photos
- a blend of major stops and quieter streets
- a morning or afternoon time choice based on your photo style
- a small group experience that avoids feeling rushed
Skip it if you:
- hate the idea of coordinating kimono rental ahead of time
- want a long, independent temple-hopping day where you set every pace yourself
- need a super flexible plan for lots of stops beyond the set route
If you’re new to portrait sessions, it’s a solid confidence builder. More experienced photographers might still appreciate the curated route and the way the stops are arranged for variety.
Should you book this Kyoto Portrait Tour with Kimono?
I think this is a strong book for most first-timers in Kyoto who want photos that look like you planned them, even if you didn’t. The combination of small group size, guided posing, and professional editing is the core value—and the route hits both recognizable landmarks and lanes that feel more like the Kyoto you came to find.
Before you book, do one quick check: confirm you’re comfortable handling the kimono rental separately. If that’s manageable, you’ll likely love how smoothly the session flows from Yasaka Shrine through Maruyama Park, Chion-in, Ishibe Alley, Nene-no-Michi, and finally Yasaka Pagoda.
FAQ
Do I need to buy a kimono separately?
Yes. The tour says the kimono is not included, and it offers flexibility to choose a kimono from your preferred store.
How long is the Kyoto portrait tour?
The duration is listed as about 1 hour 30 minutes.
What’s included in the price?
The tour includes a guide and professionally edited photos.
What stops are included on the route?
The tour includes Yasaka Shrine, Maruyama Park, Chion-in Temple (Sanmon Gate), Ishibe Alley, Nene-no-Michi, and Yasakanoto Pagoda at Hōkan-ji Temple.
Is there a group size limit?
Yes. The experience has a maximum of 6 travelers.
Do I choose a morning or afternoon session?
Yes. The tour lets you choose your preferred lighting and time of day with a morning or afternoon session.
Where do I meet the guide?
You meet at Yasaka Jinja Nishiromon Gate (Western Tower Gate), located at 625 Gionmachi Kitagawa, Higashiyama Ward, Kyoto.
Can I cancel and get a refund?
The policy says free cancellation is available. You must cancel at least 24 hours in advance for a full refund.